
Blog
Ridge Cap and Hip Cap Installation on New Roofs
Published 2026-07-02T00:00:00+00:00
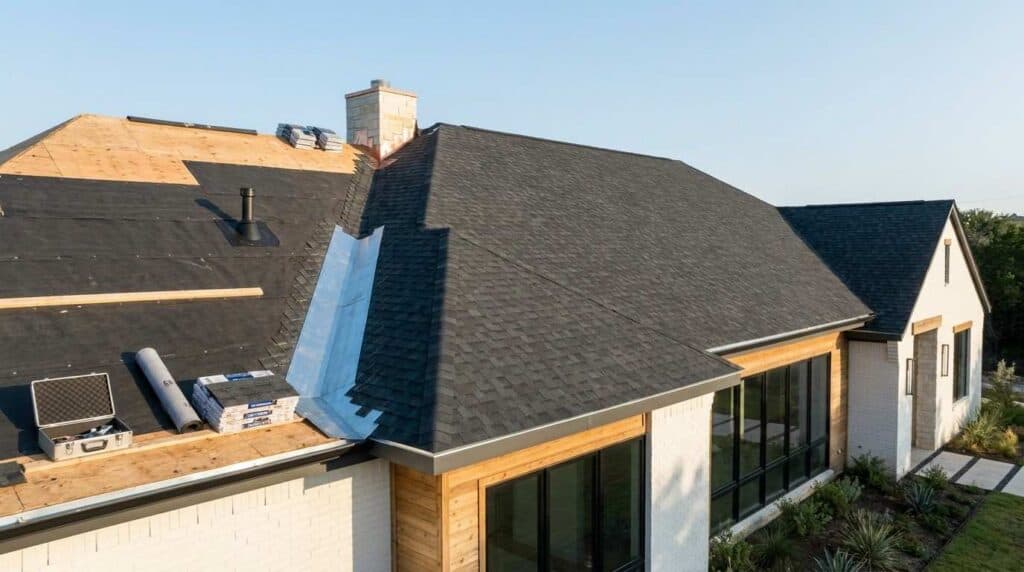
Ridge Cap and Hip Cap Installation on New Roofs Ridge cap and hip cap installation is the final protective layer that seals the most vulnerable lines of your new roof the peak and the angled edges where two roof planes meet. Done correctly, these components prevent water intrusion, resist wind uplift, and give your roof…
Ridge cap and hip cap installation is the final protective layer that seals the most vulnerable lines of your new roof the peak and the angled edges where two roof planes meet. Done correctly, these components prevent water intrusion, resist wind uplift, and give your roof a finished, professional appearance that holds up for decades. Skipping proper installation or using the wrong technique at the ridge and hip lines is one of the most common causes of early roof failure in Austin homes. Getting this step right protects everything underneath it. This guide covers what ridge and hip caps are, which materials work best, the full installation process step by step, and the mistakes that lead to costly repairs down the road.
A ridge cap is a specially shaped shingle or cap piece installed along the horizontal peak of a roof the highest point where two roof slopes meet. A hip cap serves the same protective function along the diagonal hip lines, where two sloping roof planes converge at an angle running from the peak down toward the eaves. Both components exist to cover the exposed edges where field shingles cannot lay flat. Without them, those seams would be open to wind-driven rain, debris, and temperature fluctuations that accelerate deterioration. Ridge caps and hip caps are not decorative additions they are structural necessities that complete the weatherproofing system of any properly built roof. On most residential roofs, ridge caps and hip caps are made from the same material as the field shingles, though they are cut or manufactured differently to bend and conform to the angle of the ridge or hip line. Pre-manufactured ridge cap shingles are thicker and more flexible than standard three-tab or architectural shingles, which makes them better suited to the stress of bending over a peak.
The ridge and hip lines of a roof experience more wind exposure, thermal movement, and mechanical stress than any other part of the roof surface. A poorly installed cap shingle can lift, crack, or separate within a few years sometimes within a single storm season in Central Texas, where high winds and intense heat cycles are common. When cap shingles fail, water finds its way into the roof deck at the most structurally sensitive points. Leaks at the ridge or hip lines often travel along the decking before they become visible inside the home, which means the damage is typically more extensive than it first appears. Proper installation also affects your roof's warranty. Most shingle manufacturers require ridge and hip caps to be installed according to specific nailing patterns, overlap dimensions, and sealant requirements. Deviating from those specifications can void the material warranty even if the rest of the roof was installed correctly. Ridge and hip cap installation is one of the most critical finishing steps in any new roof installation our complete guide to new roof installation covers every phase of the process, from decking and underlayment to final inspection, so you understand exactly what a quality roof build involves.
Asphalt is the most common material used for ridge and hip caps on residential roofs in Austin. Pre-manufactured asphalt ridge cap shingles are designed specifically for this application they are thicker than standard field shingles, pre-cut into individual pieces, and scored on the back to bend cleanly over the ridge angle without cracking. Three-tab shingles can be cut into cap pieces as a field-fabricated alternative, but this approach is less durable and more labor-intensive. Most professional contractors use pre-manufactured cap shingles because they provide consistent thickness, a factory-applied sealant strip, and a cleaner finished appearance.
Metal ridge caps are used on metal roofing systems and on some high-end asphalt or tile installations where additional durability is a priority. Aluminum and galvanized steel are the most common metals used. Metal caps are fastened with concealed or exposed screws and sealed with butyl tape or roofing caulk at the overlaps. Metal ridge caps are particularly effective in high-wind environments because they can be mechanically fastened more securely than nailed shingle caps. They also resist UV degradation and thermal cracking better than asphalt over long periods.
Clay and concrete tile roofs require purpose-built ridge and hip cap tiles that match the profile of the field tiles. These are manufactured to the same curvature and finish as the field tile and are mortared or mechanically fastened in place. Improper mortar application is one of the leading causes of tile ridge cap failure, particularly in climates with significant temperature swings. Choosing the right cap material depends on the shingles already installed on the field of the roof our roofing materials guide breaks down every major material type, their performance characteristics, and how they hold up in Austin's climate so you can make a confident selection.
Before any cap shingles are placed, the ridge or hip line must be measured for length and the angle of the peak must be assessed. On steeper roofs, the bend angle required for each cap piece is more acute, which affects how the shingles are scored and positioned. The field shingles on both sides of the ridge or hip line should already be fully installed and nailed before cap installation begins. Any exposed nail heads near the peak should be sealed with roofing cement at this stage.
If using pre-manufactured ridge cap shingles, this step is minimal the pieces are already cut to size and scored for bending. If cutting cap pieces from three-tab shingles, each piece is cut to approximately 12 inches in length, then scored across the back at the centerline to allow it to bend over the ridge without cracking. In cold weather, asphalt shingles become brittle and are more likely to crack during bending. Warming the shingles slightly before scoring and bending reduces breakage and produces a cleaner installation.
A bead of roofing cement is applied along the ridge line before the first cap shingle is placed. This provides an initial adhesive bond and helps prevent wind uplift on the first course. On hip lines, the same approach applies cement is applied at the starting point at the bottom of the hip, and installation proceeds upward toward the ridge. Some installations also include a strip of self-adhering underlayment along the ridge before cap shingles are applied, which provides an additional waterproofing layer at the most exposed seam on the roof.
Each cap shingle is nailed with two roofing nails, one on each side of the ridge, positioned approximately one inch from the edge of the shingle and five to six inches from the exposed end. Nail placement is critical nails placed too close to the edge can cause the shingle to split, while nails placed too far back may not be covered by the next overlapping piece. Cap shingles are overlapped so that the nails from each piece are covered by the shingle above it. The standard overlap for asphalt ridge cap shingles is five inches, though manufacturer specifications should always be followed. On hip lines, installation starts at the bottom of the hip and works upward, with each piece overlapping the one below it.
The final cap piece at the peak of the ridge called the starter cap or the cap cap is the most exposed piece on the entire roof. It is nailed on both sides and then sealed with roofing cement over all exposed nail heads. This prevents water from tracking down the nail shanks and into the roof deck. After installation, every cap shingle should be pressed firmly to activate the factory sealant strip. A visual inspection from the ground and from the roof surface confirms that all pieces are lying flat, all overlaps are consistent, and no nail heads are exposed. Once installation is complete, a professional roof inspection process confirms that every cap shingle is properly seated, sealed, and nailed our roof inspection page explains what contractors check during a post-installation review and why it protects your warranty.
Several installation errors appear consistently on roofs that develop early problems at the ridge or hip lines. Nailing too high is one of the most frequent mistakes. When nails are placed above the manufacturer's specified nail zone, they are not covered by the overlapping shingle. Exposed nail heads corrode, allow water infiltration, and eventually cause the cap shingle to lift or blow off. Insufficient overlap is another common error. Reducing the overlap to save material leaves the nails from the lower course exposed and reduces the number of layers of protection at the seam. In high-wind conditions, under-lapped cap shingles are among the first components to fail. Skipping roofing cement at the final cap piece is a mistake that often goes unnoticed until the first major storm. The final piece has no overlapping shingle above it to cover its nail heads, making sealant application non-negotiable. Using standard field shingles instead of pre-manufactured cap shingles is a cost-cutting measure that reduces durability. Field shingles are not designed to bend over a ridge, and they are thinner and less resistant to the UV exposure and thermal cycling that ridge and hip lines experience. When ridge or hip cap installation errors go undetected, they often lead to leaks, lifted shingles, and premature deterioration our roof repair services page explains how Tarrytown Roofing diagnoses and corrects installation-related damage before it spreads to the roof deck.
Ridge caps and hip caps serve the same fundamental purpose sealing the exposed seam where two roof planes meet but they differ in location, geometry, and installation direction. A ridge cap runs horizontally along the highest point of the roof. The angle it must bend over is determined by the roof pitch, and installation proceeds from one end of the ridge to the other, with the final piece sealed at the center or at the dominant wind direction end. A hip cap runs diagonally along the hip lines, which slope downward from the ridge toward the corners of the roof. Because hip lines are angled, each cap piece must be positioned to shed water away from the seam and toward the field shingles on either side. Installation on hip lines starts at the bottom and works upward, which is the opposite direction from ridge cap installation. On roofs with both ridge lines and hip lines which includes most gable-hip combination roofs common in Austin the hip caps are installed first, and the ridge cap is installed last, covering the point where the hip lines meet the ridge. Understanding the structural difference between ridge caps and hip caps helps homeowners ask better questions when reviewing a new roof installation proposal our new roof installation page outlines what every phase of a professional roof build should include.
Ridge cap and hip cap installation completes the weatherproofing system of a new roof by sealing the most exposed seams where two roof planes converge. Material selection, nailing pattern, overlap dimensions, and final sealing all determine how well these components perform over the life of the roof. Errors at the ridge and hip lines are among the most common causes of early roof failure and among the most preventable when installation follows manufacturer specifications and industry best practices. At Tarrytown Roofing , we install every ridge cap and hip cap to manufacturer specifications so your new roof performs the way it was designed to. Contact us to schedule a consultation or inspection.
A ridge cap shingle is thicker, pre-scored for bending, and designed specifically to conform to the angle of a roof peak. Regular field shingles are flat and not engineered to flex over a ridge without cracking.
Pre-manufactured asphalt ridge cap shingles generally last 20 to 30 years when properly installed, which is comparable to the lifespan of the field shingles beneath them. Metal ridge caps can last 40 years or more.
Yes, but asphalt shingles become brittle in temperatures below 40 degrees Fahrenheit. Contractors should warm the shingles before bending and scoring to prevent cracking. Sealant strips also require warmer temperatures to activate properly.
Most manufacturers specify two nails per cap shingle, placed approximately one inch from each side edge and positioned so the next overlapping shingle covers the nail heads. Always follow the specific manufacturer's nailing pattern for the product being installed.
Improperly installed ridge caps can lift in high winds, allow water infiltration at the roof peak, expose nail heads to corrosion, and void the shingle manufacturer's warranty. These failures often lead to deck damage and interior leaks that are more expensive to repair than the original installation would have been.
They should match in color and ideally in product line for a consistent appearance. Pre-manufactured cap shingles are available in colors that correspond to most major shingle product lines. Using a mismatched cap product can affect both aesthetics and warranty compliance.
Ridge and hip cap installation requires working at the highest point of the roof, precise nailing placement, and knowledge of manufacturer specifications. Most homeowners are better served by hiring a licensed roofing contractor to ensure the installation meets warranty requirements and performs correctly over time.
Related

Blog
Underlayment Systems for New Roof Installations
Underlayment Systems for New Roof Installations Roofing underlayment is the protective layer installed directly on your roof deck beneath the shingles and choosing the right system is one of the most important decisions in any new roof installation. Most homeowners focus on shingle color or material, but underlayment is what stands between your home and…
Blog
Warranty Coverage for Roof Replacement Materials and Labor
Warranty Coverage for Roof Replacement Materials and Labor Most roof replacement warranties split into two separate coverages: one from the manufacturer protecting the materials, and one from your contractor protecting the installation work. Knowing what each covers, how long each lasts, and what can void them is essential before you sign any roofing contract. When…
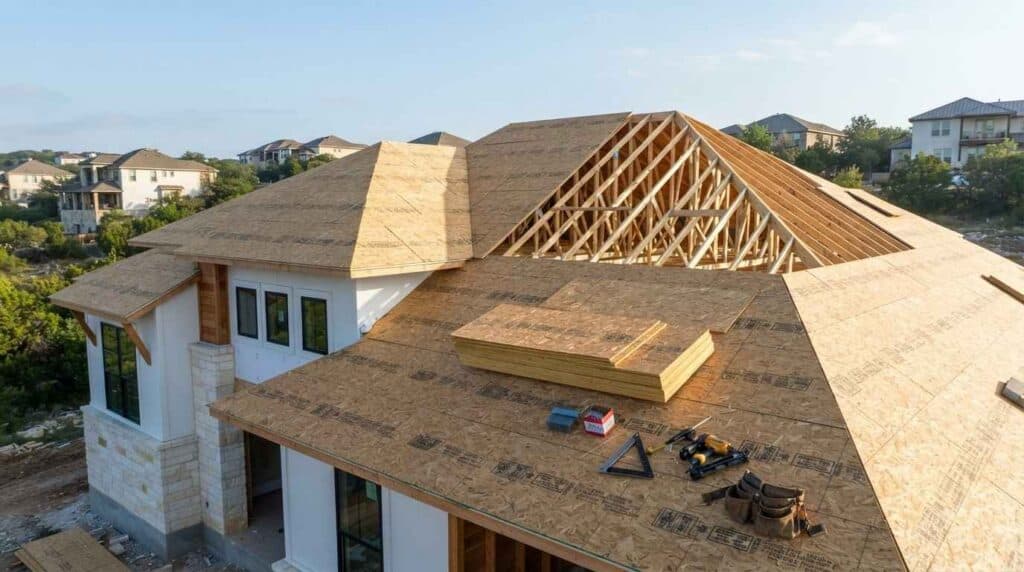
Blog
Signs That a Roof Needs Full Replacement Rather Than Repair
Signs That a Roof Needs Full Replacement Rather Than Repair Not every roofing problem can be fixed with a patch. When damage is widespread, structural, or tied to a roof that has simply reached the end of its service life, repairs become a short-term solution to a long-term problem and the costs add up fast….
Ready for the next step?
Free inspection, real answers, no pressure.