Roof Leak Detection Methods and Diagnostic Approaches

Identifying a roof leak early is the single most effective way to prevent minor water intrusion from becoming a structural repair costing thousands of dollars. Most leaks follow predictable patterns and leave diagnostic clues that a trained eye or a prepared homeowner can recognize before serious damage sets in.
Delayed detection turns manageable repairs into major projects, threatening insulation, framing, and interior finishes throughout your Austin home.
This guide covers every major roof leak detection method, from basic visual inspection to professional infrared scanning, so you know exactly what to look for and when to act.
What Is Roof Leak Detection and Why Early Diagnosis Matters
Roof leak detection is the process of locating the source of water intrusion in a roofing system before that water causes structural or interior damage. It is not simply finding wet spots it is tracing water back to its true entry point, which is often several feet away from where the damage appears inside the home.
Water travels along rafters, decking, and insulation before dripping onto a ceiling. This means the stain on your drywall and the actual breach in your roof covering are rarely in the same location. Effective diagnosis accounts for this movement and works backward from the symptom to the source.
The Cost of Ignoring a Roof Leak
A small, undetected leak can saturate roof decking, compromise insulation R-value, and create conditions for mold growth within 24 to 48 hours of sustained moisture exposure. What begins as a minor flashing gap or a cracked pipe boot seal can escalate into decking replacement, rafter repair, and interior remediation all of which carry costs that dwarf the original repair.
In Austin’s climate, where summer heat and periodic heavy rain cycles stress roofing materials year-round, early detection is not optional it is the most cost-effective maintenance decision a homeowner can make. Understanding what a roof leak is and how it progresses is the foundation of any sound repair decision our complete guide to roof repair options walks Austin homeowners through every repair and replacement scenario, cost factor, and contractor consideration in one place.
Visual Inspection: The First Step in Roof Leak Diagnosis
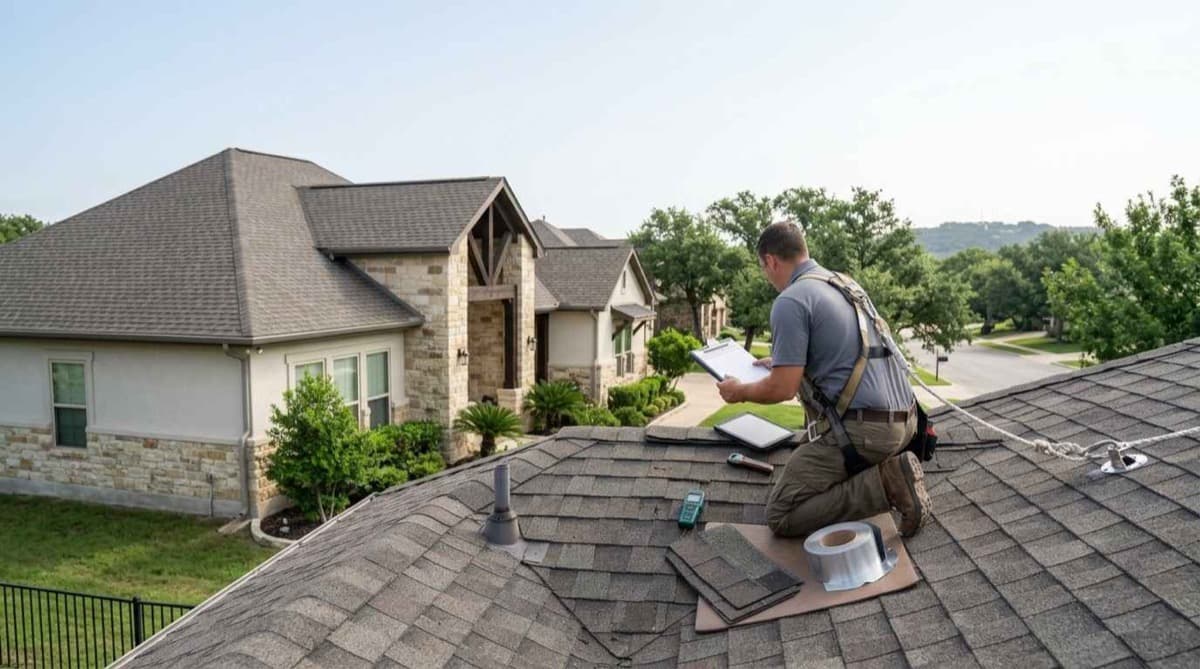
Visual inspection is the starting point for every roof leak diagnostic, whether performed by a homeowner or a licensed contractor. It costs nothing, requires no equipment, and can identify the majority of common leak sources when done systematically.
The key is separating exterior inspection from interior inspection and treating each as its own diagnostic step.
Exterior Roof Inspection Checklist
On the exterior, focus on the areas most likely to fail first: penetrations, transitions, and low-slope sections where water pools.
Look for lifted, cracked, or missing shingles in any field area. Check the ridge cap for gaps or displaced material. Examine all pipe boots, vent collars, and chimney flashing for cracked sealant, rust, or separation from the roofing surface. Inspect valleys the angled channels where two roof planes meet for granule loss, exposed substrate, or debris buildup that forces water under the shingle edge.
Gutters also tell a diagnostic story. Excessive granule accumulation in gutters signals advanced shingle wear. Sagging or detached gutters can cause water to back up against the fascia and work under the drip edge.
Interior Attic Inspection Signs
The attic is where most leaks reveal themselves before they reach living spaces. Inspect the underside of the roof decking with a flashlight during or immediately after rainfall. Look for active drips, water staining on rafters, dark streaking on decking boards, and daylight visible through the roof plane.
Wet or compressed insulation is a reliable indicator of sustained moisture intrusion. Mold or mildew growth on rafters or the underside of decking confirms that moisture has been present long enough to create biological activity a sign the leak is not new.
A thorough visual inspection is the starting point for any professional diagnosis, and homeowners who understand what inspectors look for are better prepared to act quickly our overview of the roof inspection process explains what a qualified contractor examines, documents, and flags during a full residential roof assessment.
Water Testing Methods for Locating Roof Leaks
When visual inspection does not isolate the leak source, controlled water testing is the next diagnostic step. This method involves systematically introducing water to specific roof zones and observing where intrusion occurs inside the attic or living space.
Water testing is most useful when the leak is intermittent, when the interior damage point does not correspond to any obvious exterior defect, or when multiple potential sources exist and need to be ruled out one by one.
How to Perform a Controlled Water Test
The test requires two people: one on the roof with a garden hose and one inside the attic with a flashlight. Begin at the lowest point of the suspected zone and work upward in sections, soaking each area for three to five minutes before moving higher. Starting low prevents water from running down from a higher source and creating a false positive at a lower location.
Isolate one zone at a time. Soak the area around a single pipe boot, then wait. Move to the flashing at a valley, then wait. This methodical approach eliminates variables and pinpoints the breach with precision.
Document every zone tested and the result. This record is useful for contractor communication and, in some cases, insurance documentation. Before scheduling a water test or professional diagnostic visit, knowing what to expect and how to prepare your home can save time and improve accuracy our resource on preparing for roof inspection covers exactly what homeowners should do before a contractor arrives.
Infrared Thermography and Moisture Scanning
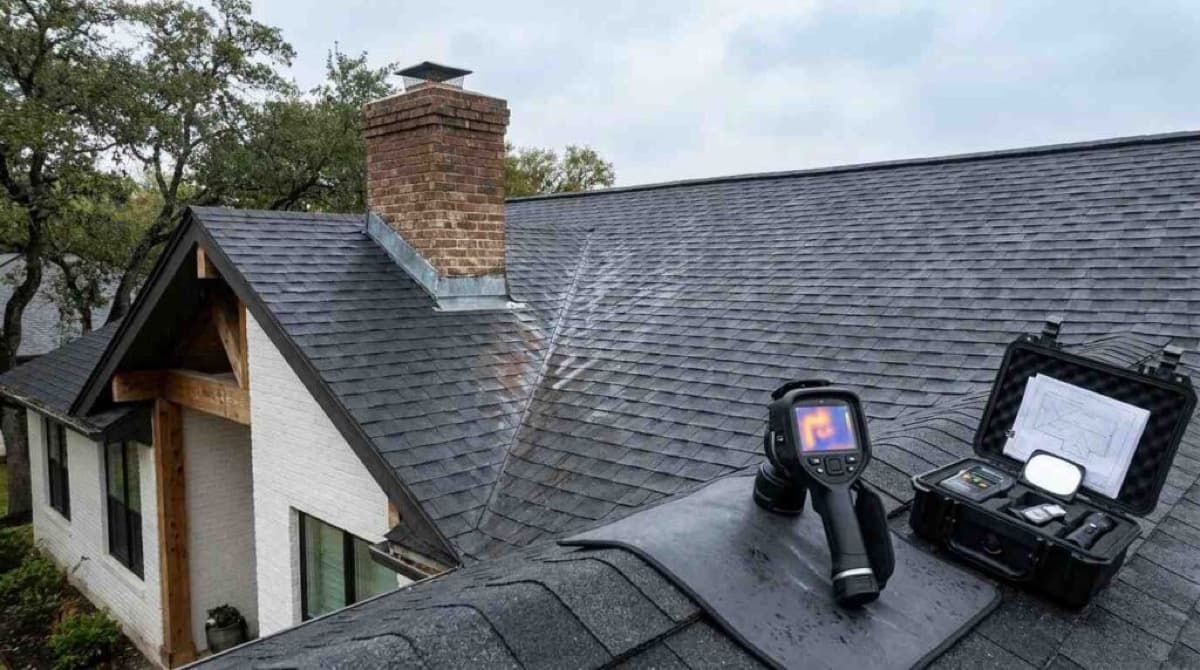
Infrared thermography commonly called thermal imaging or IR scanning is a non-invasive diagnostic method that detects temperature differentials in roofing materials caused by trapped moisture. Wet insulation and saturated decking retain heat differently than dry materials, and a thermal camera makes those differences visible as color gradients on a display.
This method is particularly effective for flat or low-slope roofs, where water can pool and migrate across large surface areas without leaving obvious exterior evidence. It is also used on pitched roofs when the leak source remains unidentified after visual inspection and water testing.
When to Use Thermal Imaging for Roof Diagnostics
Thermal imaging produces the most accurate results when performed at dusk or in the early evening, after the roof surface has absorbed solar heat throughout the day. As the surface cools, wet areas retain heat longer than dry areas, creating a clear thermal contrast that the camera captures.
IR scanning is not a replacement for physical inspection it is a complement to it. A thermal anomaly identifies a zone of concern, but a contractor must still physically inspect that zone to confirm the source and assess the extent of damage. When thermal imaging reveals widespread moisture intrusion or structural saturation, the diagnostic findings often shift the conversation from repair to replacement our breakdown of roof replacement costs helps Austin homeowners understand what drives pricing when a full replacement becomes the right call.
Common Roof Leak Sources and Their Diagnostic Signatures
Most residential roof leaks originate from a predictable set of failure points. Understanding the diagnostic signature of each source helps homeowners and contractors move from symptom to solution faster.
Flashing Failures and Penetration Leaks
Flashing is the metal material installed at every transition point on a roof around chimneys, skylights, dormers, and where the roof meets a vertical wall. It is the most common source of residential roof leaks, and it fails in predictable ways: sealant cracks and separates, metal corrodes and gaps, or improper installation allows water to work behind the flashing over time.
The diagnostic signature of a flashing leak is water intrusion that appears during rain but stops quickly after rain ends, often concentrated near a chimney, skylight, or wall transition. The interior stain is typically located directly below or slightly downslope from the flashing failure point.
Flashing failures are among the most frequently misdiagnosed leak sources, and addressing them correctly requires both accurate identification and proper repair technique our dedicated page on flashing repair and replacement covers every flashing type, failure pattern, and repair method used on Austin residential roofs.
Shingle Damage, Lifted Edges, and Granule Loss
Shingle-related leaks typically result from physical damage hail impact, wind uplift, or age-related brittleness that compromises the shingle’s ability to shed water. Lifted shingles allow wind-driven rain to enter from below. Cracked or missing shingles expose the underlayment, which is not designed for long-term water exposure.
Granule loss is a leading indicator of shingle failure rather than an immediate leak source. When granules wear away, the asphalt layer beneath is exposed to UV degradation, accelerating the timeline to cracking and water intrusion. Heavy granule accumulation in gutters after a storm is a diagnostic signal that shingle replacement may be approaching.
When to Call a Professional Roofing Contractor
Visual inspection and water testing are valuable homeowner tools, but they have limits. If you cannot identify the source after a systematic inspection, if the leak is active during rain and causing interior damage, or if the suspected source involves structural components, flashing systems, or multiple failure points, a licensed roofing contractor should perform the diagnostic assessment.
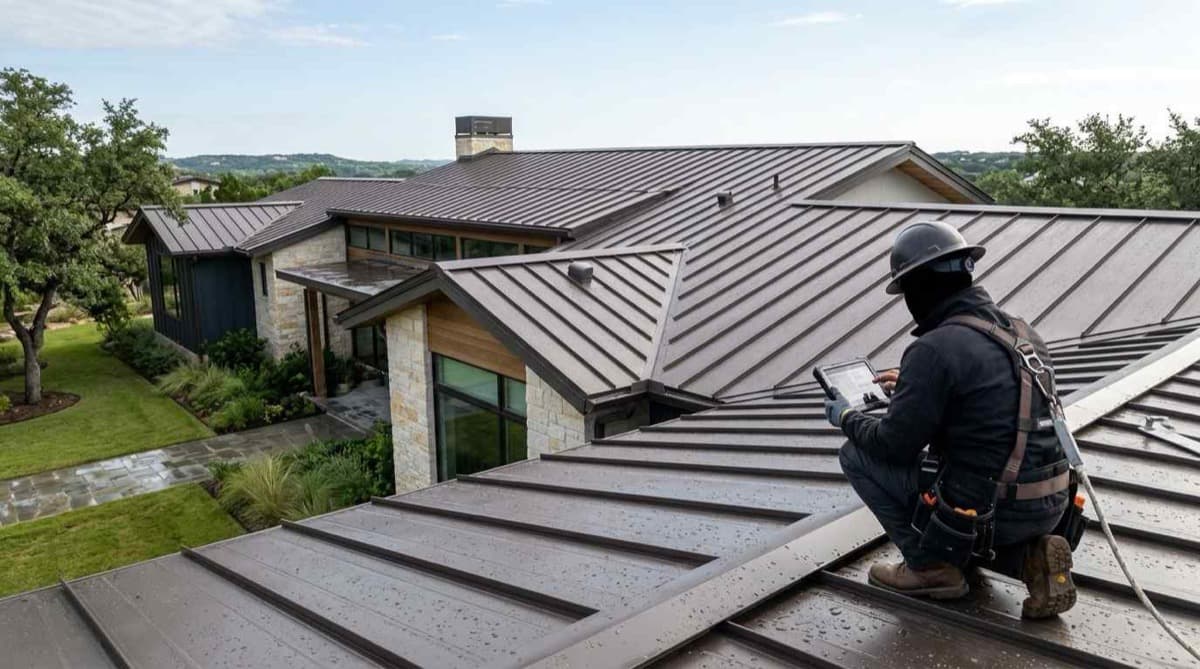
Professional contractors bring moisture meters, thermal cameras, and years of pattern recognition to a diagnostic visit. They can identify failure points that are not visible from the ground or accessible without proper safety equipment. They also document findings in a format that supports insurance claims when storm damage is involved.
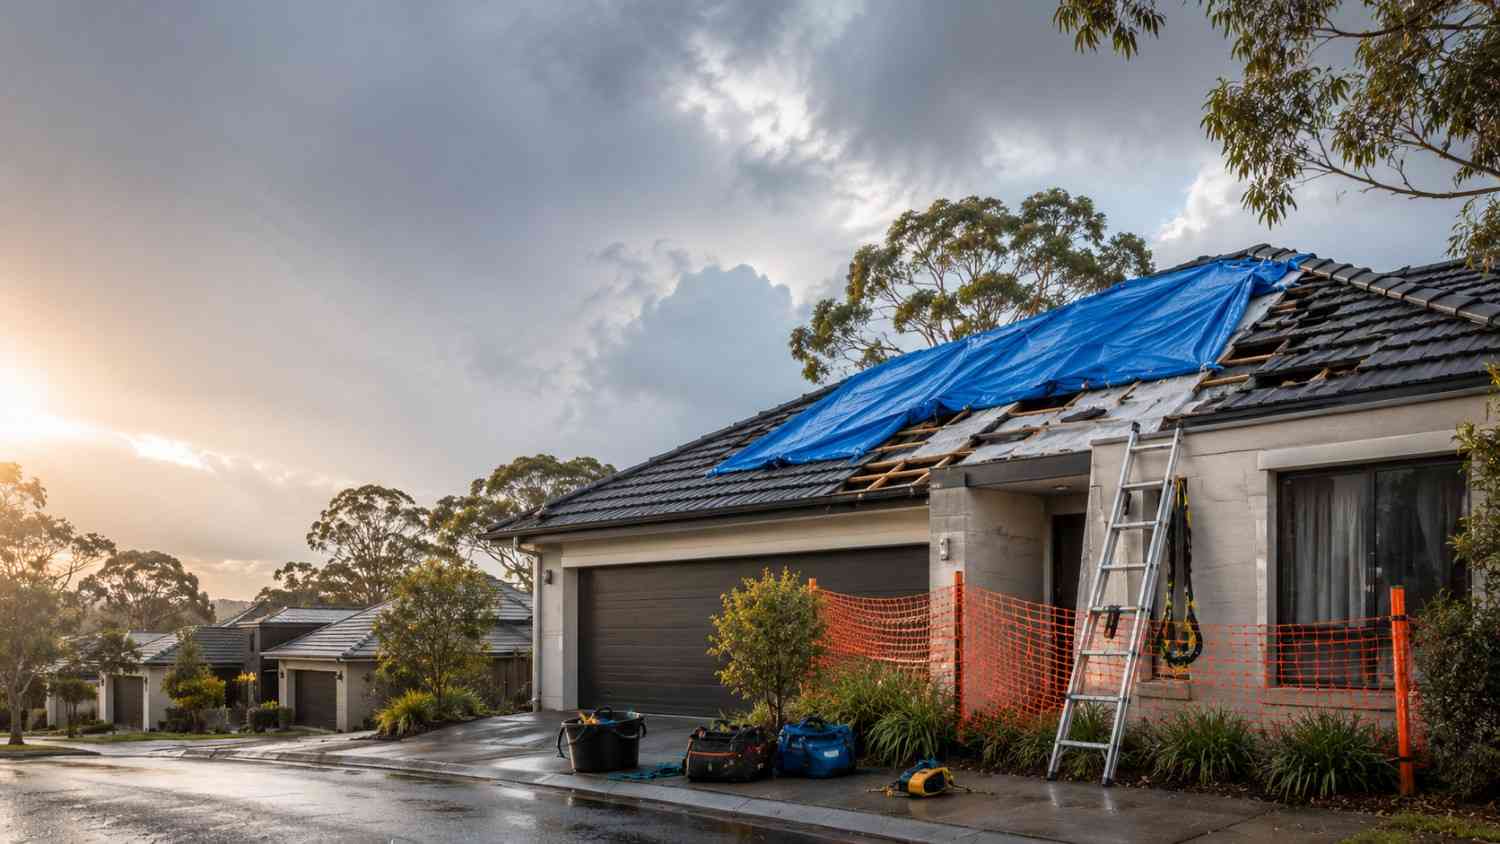
If your leak appeared after a recent storm or severe weather event, the diagnostic approach and urgency level change significantly our guide to storm damage roof repair explains how Austin contractors assess, document, and repair weather-related roof damage, including what qualifies for an insurance claim.
At Tarrytown Roofing, our diagnostic process combines physical inspection, moisture scanning, and documented findings to give Austin homeowners a clear picture of what is happening with their roof and what it will take to fix it. Contact us to schedule a professional roof leak assessment.
Conclusion
Roof leak detection is a systematic process that moves from visual inspection to water testing to thermal imaging, each method building on the last to isolate the true source of water intrusion. The most common failure points flashing, penetrations, and shingle damage leave recognizable diagnostic signatures that guide both homeowners and contractors toward the right repair.
Early detection consistently produces better outcomes: smaller repairs, lower costs, and less interior damage. The longer a leak goes unaddressed, the more systems it compromises.
At Tarrytown Roofing, we help Austin homeowners move from uncertainty to a clear repair plan contact us today to schedule a professional roof leak diagnostic and protect your home before minor water intrusion becomes a major problem.
Frequently Asked Questions
How do I find a roof leak from inside my house?
Start in the attic during or immediately after rainfall. Use a flashlight to look for active drips, water staining on rafters, dark streaking on decking boards, or wet insulation. Trace any moisture upslope from where it appears, since water travels along structural members before dripping.
What is the most accurate method for detecting roof leaks?
Infrared thermography combined with physical inspection is the most accurate diagnostic approach for complex or hidden leaks. Thermal imaging identifies moisture zones that are not visible to the naked eye, and physical inspection confirms the source and extent of the damage.
Can a roof leak without visible damage?
Yes. Flashing gaps, failed pipe boot seals, and cracked underlayment can allow water intrusion without any obvious exterior damage. These leaks are often intermittent and may only appear during specific wind or rain conditions, making them difficult to locate without systematic testing.
How much does professional roof leak detection cost in Austin, TX?
Professional roof leak detection in Austin typically ranges from $150 to $400 depending on roof size, complexity, and whether thermal imaging is included. Many roofing contractors, including Tarrytown Roofing, apply the diagnostic fee toward the cost of repair if the homeowner proceeds with the work.
What causes most roof leaks on residential homes?
Flashing failures at penetrations and transitions are the leading cause of residential roof leaks, followed by damaged or missing shingles, failed pipe boot seals, and clogged or damaged gutters that force water back under the drip edge. Age-related material degradation accelerates all of these failure modes.
Is infrared roof inspection worth it?
Infrared inspection is worth the cost when a leak source cannot be identified through visual inspection and water testing, when the roof is flat or low-slope, or when widespread moisture damage is suspected. It prevents unnecessary tear-off by pinpointing exactly where moisture is present before any repair work begins.
How long can a roof leak go undetected?
A slow or intermittent roof leak can go undetected for months or even years if it is draining into insulation rather than through a ceiling. By the time interior staining appears, the leak has typically been active long enough to saturate insulation, stain decking, and potentially begin mold growth in the attic space.